
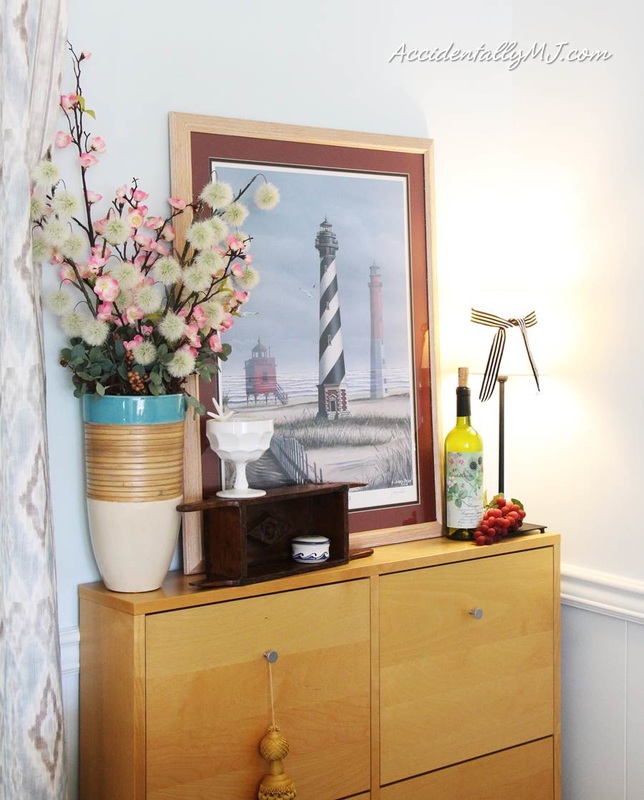
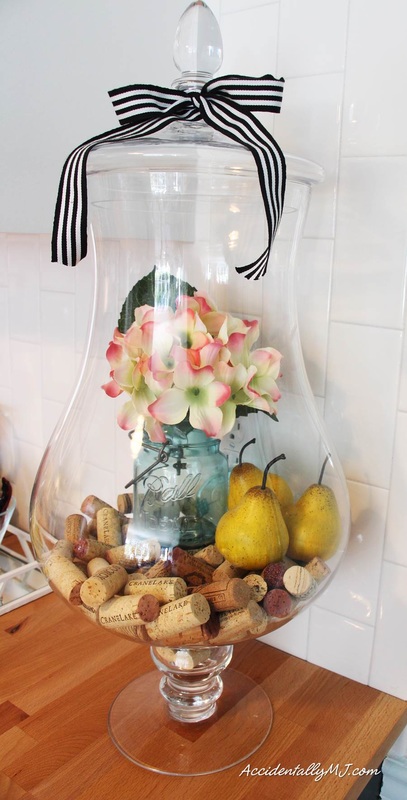
Hello There! I finally got around to a few projects over the last week and updated the living room for the fall. In the late summer, I picked up a clearance desk at Target, a few table runners, placemats and a couple gold metal bins to update the little entry area of the living room. My intention was to turn the bins into stools by adding plywood tops. Well, over two months later and my intentions are now reality...
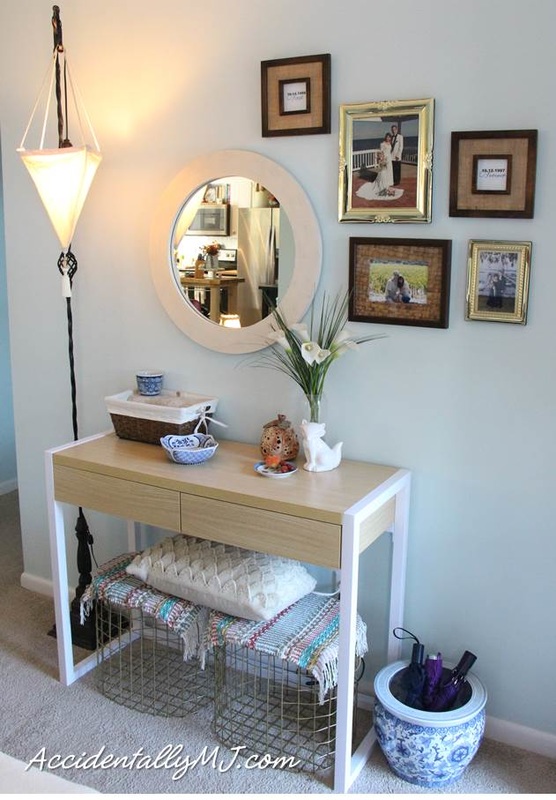
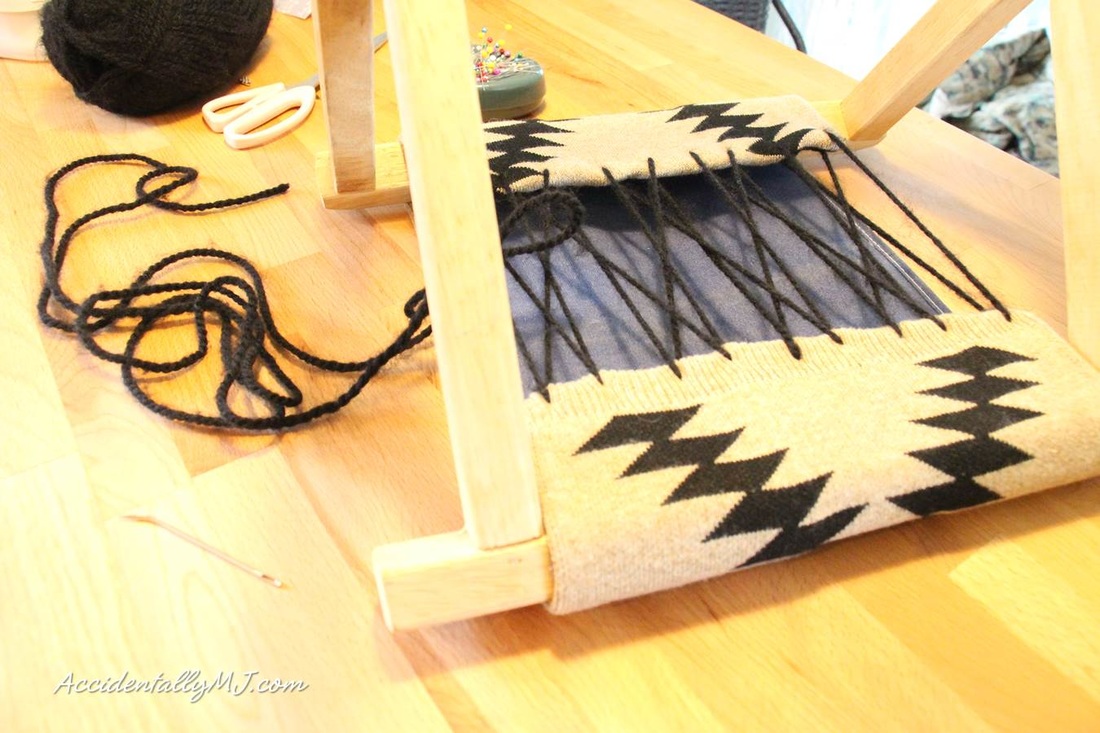
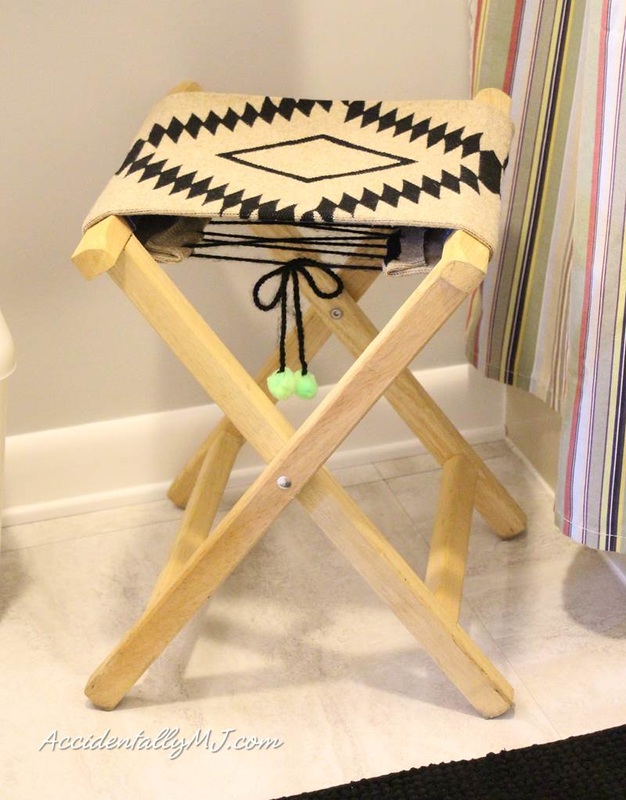
When I bought the desk, I knew I wanted a pair of stools to sit underneath, but I could not for the life of me find two stools that I liked and would fit. Walking by the storage section at Target, I saw these sturdy metal bins and I knew they were exactly what I needed! Hubby cut two tops out of plywood and added cleats underneath to keep them on the bins. Then I covered them with the clearance table runners I snagged a while back...
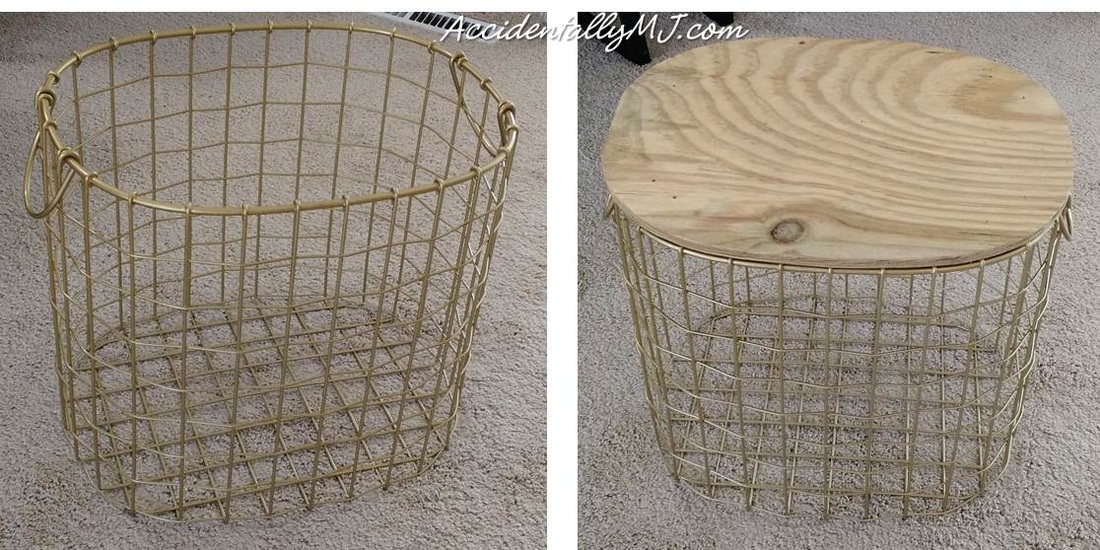
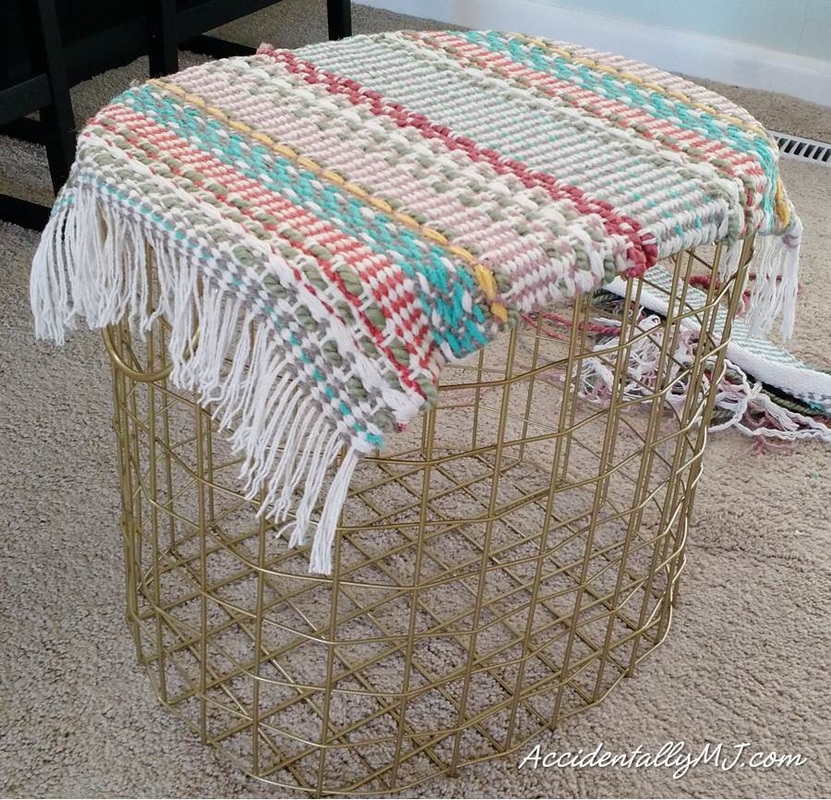
I was going to staple the runner fabric to the plywood, but I decided to go a less permanent route and just hot glue it. Now I can just rip these covers off if I get tired of them!
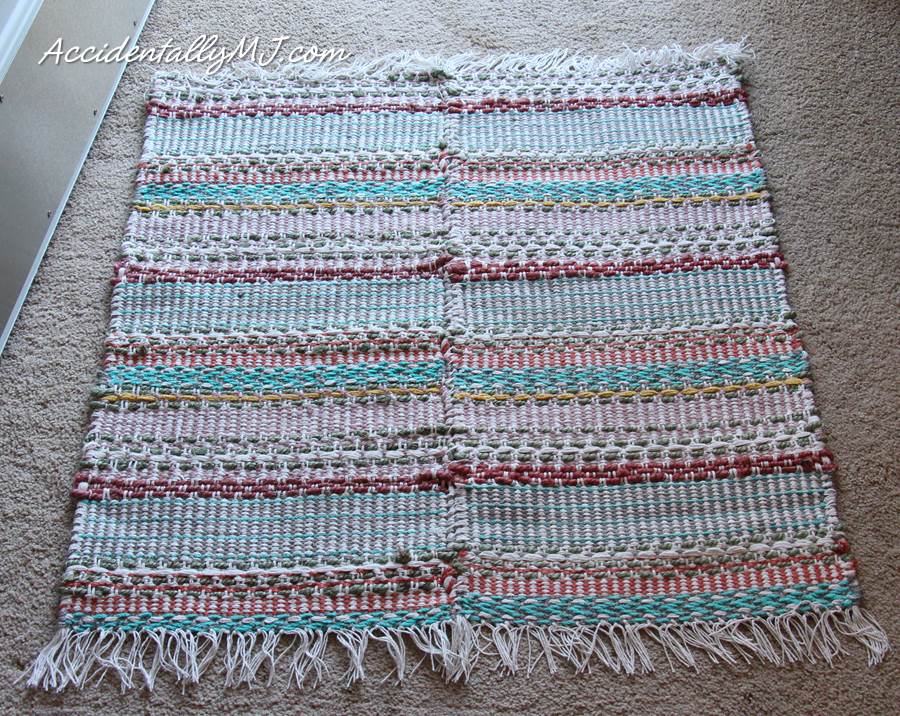
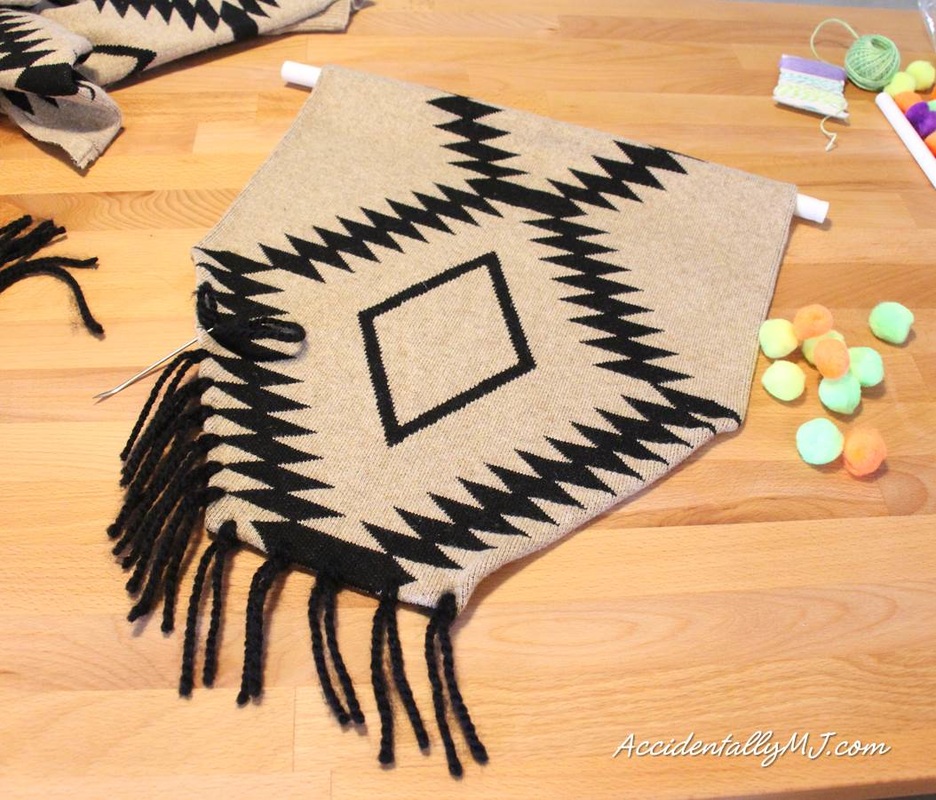
I also created a small entry rug out of the leftover table runners by whip-stitching them together and tying knots for a fringe on the ends...
I also created a small entry rug out of the leftover table runners by whip-stitching them together and tying knots for a fringe on the ends...
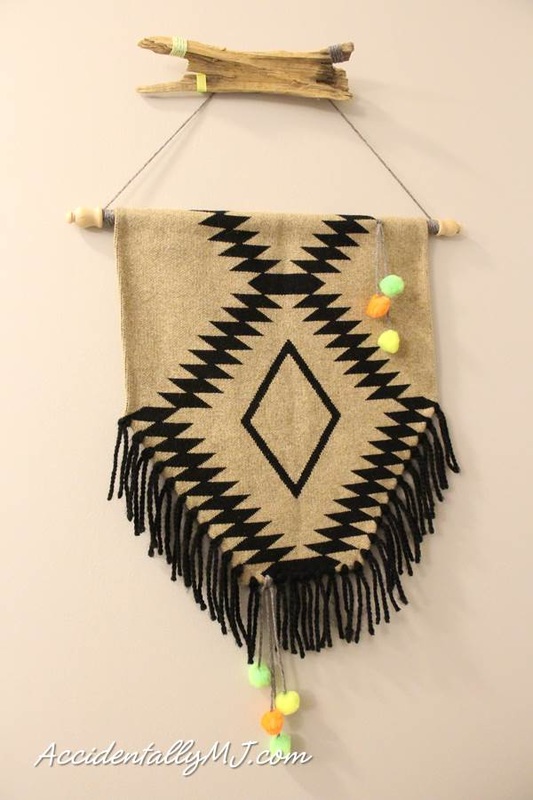
I also made a few pillow covers to coordinate the living room with the entry area. I used a few clearance placemats and leftover runner material to whip those out... They coordinate with the pillows and curtains we already had...
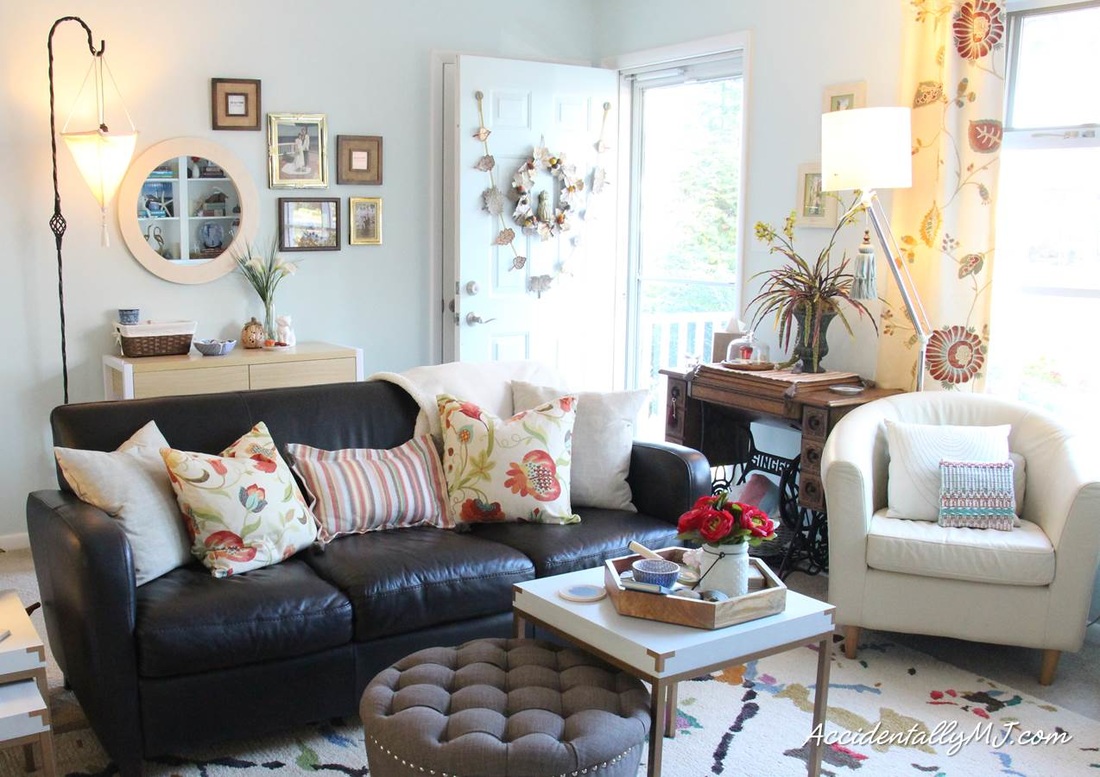
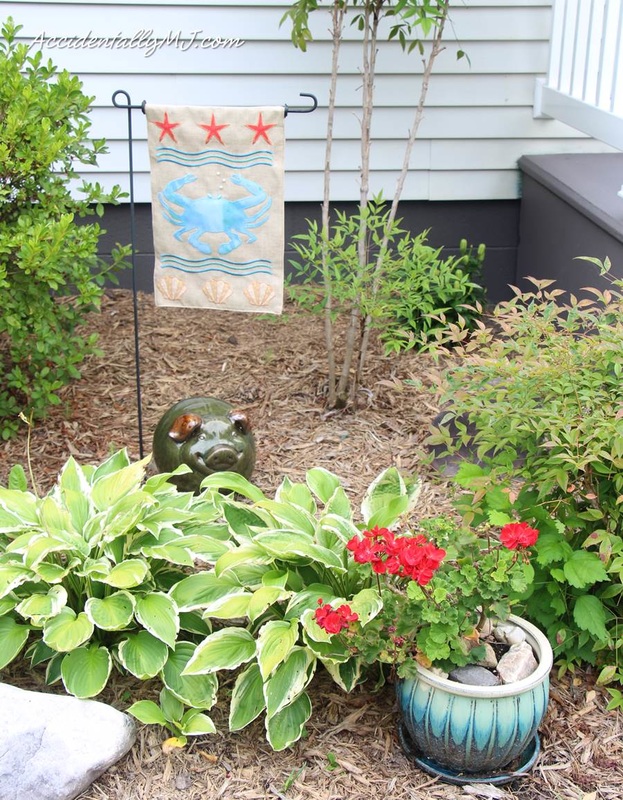
While I love to look at pictures of the chic, monochromatic rooms on many blogs, I just cannot live in that type of room. I need my color! Luckily, I am able to change things around with very little money with just a bit of work and ingenuity. And it does help to have a very handy Hubby!
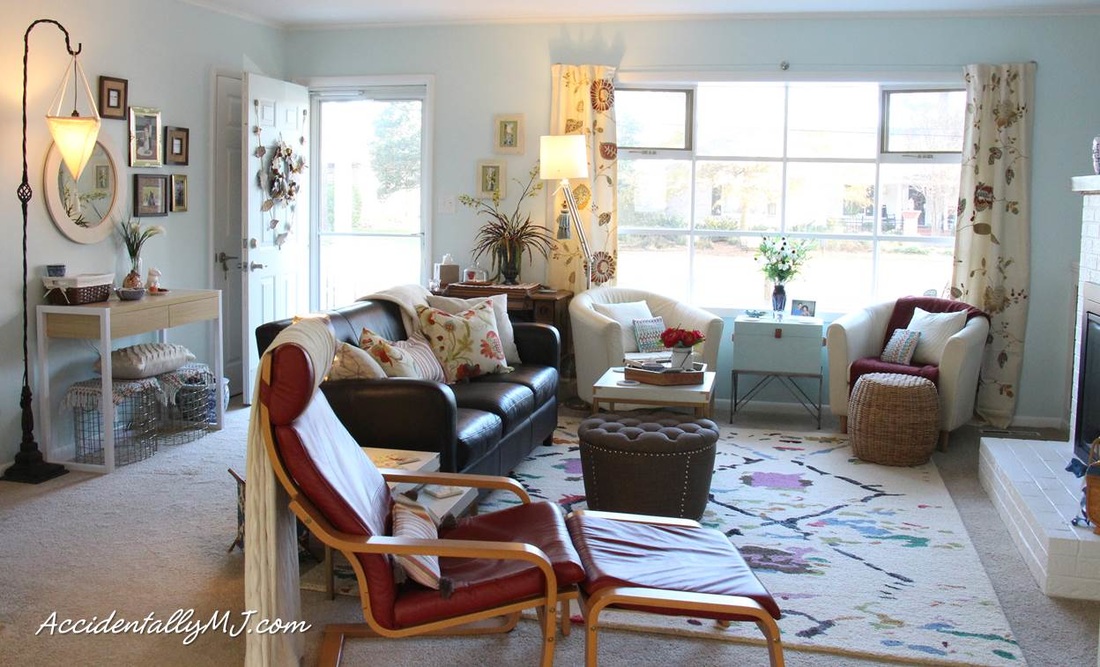
Now that the living room is feeling so cozy, I think it will be time to have our first fire of the season and curl up on the couch with some hot cocoa! Here's to sweater weather!
Cheers!
M J
Cheers!
M J


 RSS Feed
